Showing posts with label Block. Show all posts

Wednesday, 22 October 2014

"COMPULSIVE SEWING" Quilt

Last week it wasn't a good period for me and my family...my mind was "disconnected". The only thing that I was able to do was...to turn over the scraps' basket and begin to sew one scrap to an other scrap...two scraps with two others...and so on...without rules...without measures...only sewing on!
So... this is my "COMPULSIVE SEWING" Quilt


It is very special for me because it was my therapy!

Monday, 21 April 2014

MY NEW PAPER PIECING....WIP

For my second "attempt" in paper piecing I chose to make these lovely kimono blocks (about 7" X 8").
I used linen and japonese fabric..... (scraps from my BOM 2012/13)!


Probably.....they will became a mini-quilt to hang or a table runner for my dining room.

Sunday, 30 March 2014

Little Circle of Flying Geese....

I finally learned how to sew The Circle of Flying Geese by paper piecing technique!!!
My quilters' group, all dear friends, helped me with useful tips, right paper and lovely encouragements!!!
For this first block  (15" X 15") I used scaps and solid black fabric (Ikea cotton)...... but the result is very good....may be I will make a cushion or a centerpiece.


Friday, 7 February 2014

New experiment.....new cushion

To take a break from "Celtic Solstice", I tried to make a new work : Twister Pinweel !

This is a block that I like so much because the final result is like a surprise.
I began to make the top with 4 and 1/4"  squares (I had several ones already cut in this measure) , 7 units X 7 rows,  and a 3" border.

Then, since I haven't the Pinweel block ruler, I made  a plastic template  ( 3"X 3") by myself.

I began to cut neatly the blocks and put them apart in the same position.

Little by little I reassambled the new squares to form the pinweels.

 I sewed the blocks and then the rows.......
A beautiful new"top"!

I added a piece of cotton batting and  hanquilting with cotton perle.....


I decided to make a cushion with this cute mini quilt.....so I made an envelope closure for the back......and voilà ...

.....a beautiful new cushion for my sofa......and I learned a new technique!!!

Wednesday, 29 January 2014

CELTIC SOLSTICE TOP - WIP

Missing a final border....


Where am I?

Ehi! I'm here too!!

All together!


Sunday, 16 June 2013

HOT SUNDAY.....

.....so....I need colors!!!!


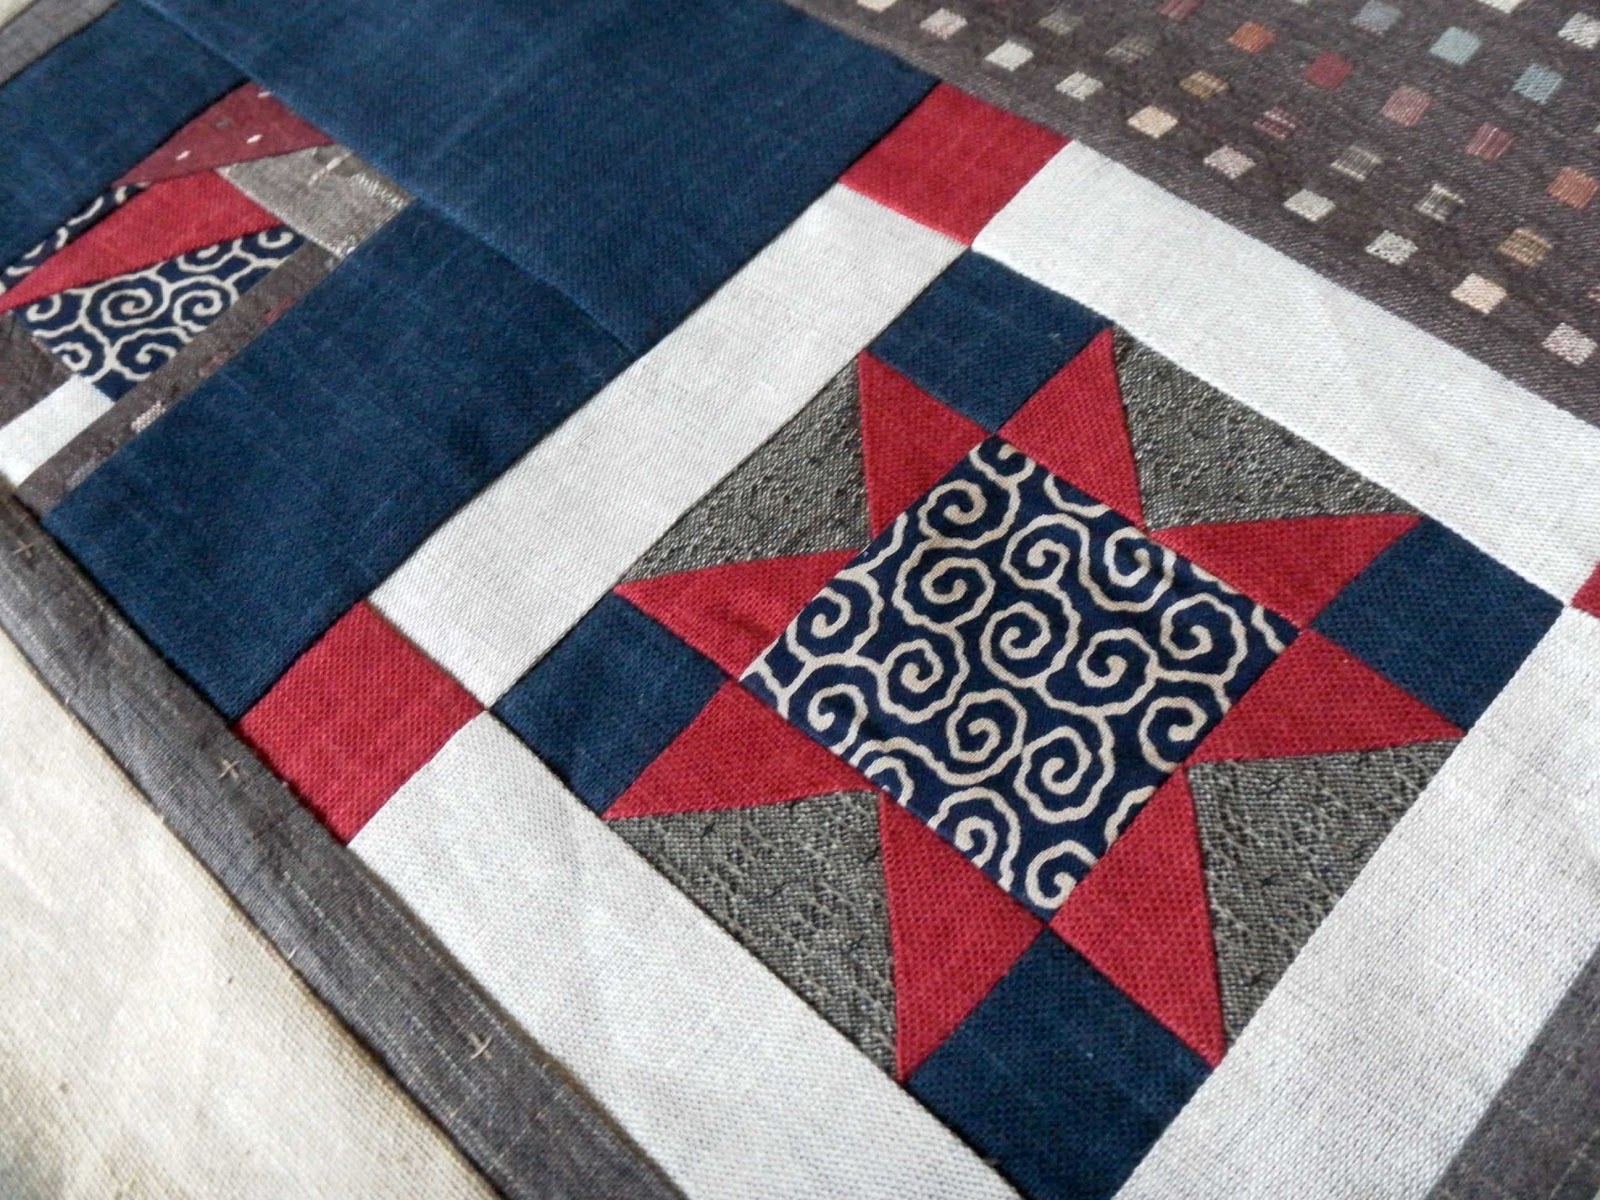
These are some  first blocks of my next proiect!
Thanks to Jake Finch for her tutorial!!!
"Fullcolor Wonky Stars"
I use solid scaps for the stars and a beautiful dark gray fabric for the background :"Comma" by Brigitte Heitland for ZEN CHIC. 
Perfect for my stars.


I don't know how many blocks will have my proyect.....
I go on for a while!!!

Saturday, 1 December 2012

Better late than never.....

...BOM # 8...


...BOM # 9...


...BOM # 10...


...BOM # 11...


...BOM # 12...


....next time there will be the quilt top!!!


Friday, 28 September 2012

NEW CLASS, NEW TOP....and 100th POST

Three weeks ago, I have had a new class: FREE STRIPES QUILT.


With the  help of my teacher Nichi, I have learned an easy method to make "Free Stripes blocks". A very interesting lesson....so I have wanted to realized a top. I used an eight quarter bundle that I bought last year in Paris. I used also white kona fabric for the contrast.
And this is the top:
The measures are 120 x 140 cm...........just right for a lucky child!


Now I have to begin with the handquilting!

Oh! I forgot..........this is

ROXY QUILT 100th post !!!!!!

I want to thank all my dear followers and all Blogland! I'm happy for this adventure!

Thursday, 20 September 2012

After a break......

....I can show you my new work!

Kaffe Fasset HST top
This has been my first work with Kaffe Fasset  (Paperweight Collection) so I have decided for a simple block to bring out the colors and the design of the fabrics.
I made 224 HST (12.5 cm finished) using also three gray shades: a good choise to balance so many colors.
But when I finished all the blocks I had to lay out them to see the result and decide for the colors position. OK.....where?
Not on my design wall: too small!
Of course on the floor! (Our friend floor: I think that the floor is a great instrument for the quilters!)
With the help of my hub (!?!) I created my personal "design floor" : a grid with string and adhesive tape. A perfect grid with the quilt measures (about 2,00 cm x 2,20 CM)


Little by little, I composed my top, checking the colors and the measures.
I have to say...this grill has been a big trick!


I made a little squares border and now I'm working on the back of the top ......and I can say that it'll be a surprise.


Popular Posts